insignia pressure cooker manual

Insignia Pressure Cooker Manual: A Comprehensive Guide
Welcome! This guide details Insignia pressure cooker operation, covering models from 2016 onward. Newer models (ending in ‘9’) simplify high-pressure settings, resembling Instant Pot LUX.
Understanding Your Insignia Pressure Cooker
Your Insignia pressure cooker is a versatile multi-functional appliance designed to simplify and expedite meal preparation. It combines the functions of a pressure cooker, slow cooker, rice cooker, steamer, and more, all within a single unit. Understanding the differences between older and newer models is crucial. Older Insignia models featured a dedicated “Pressure Level” button, allowing selection between high and low pressure – a feature beneficial for recipes requiring precise pressure control, like yogurt or delicate egg dishes.

However, newer models (identified by a ‘9’ at the end of the model number, such as NS-MC60SS9) have streamlined this, offering only a single high-pressure setting. This design choice aligns the newer Insignia cookers more closely with the Instant Pot LUX line. While simplifying operation, it necessitates recipe adjustments for those accustomed to low-pressure cooking. Familiarizing yourself with your specific model’s features, as detailed in its user manual (available online for download), is the first step to mastering your Insignia pressure cooker.
Model Variations: Older vs. Newer
A significant distinction exists between older and newer Insignia pressure cooker models, primarily concerning pressure level control. Older versions boasted a dedicated “Pressure Level” button, granting users the ability to switch between high and low-pressure settings. This functionality proved invaluable for recipes demanding precise pressure adjustments, such as crafting yogurt or gently cooking eggs, where low pressure is essential to prevent overcooking.
Conversely, newer Insignia models (typically those with a model number ending in ‘9’, like NS-MC60SS9) have eliminated the Pressure Level button, offering only a single high-pressure option. This simplification mirrors the design of the Instant Pot LUX series. While streamlining the user experience, it presents a challenge when adapting recipes originally written for models with low-pressure capabilities. Consequently, users with newer models may need to modify recipes or seek alternatives that don’t rely on low-pressure settings. Always confirm your model number to understand its capabilities.
Pressure Levels: High Pressure Explained
High pressure is the default and most frequently used setting on Insignia pressure cookers, significantly reducing cooking times compared to conventional methods. This is achieved by raising the boiling point of water, allowing food to cook at a higher temperature within a sealed environment. For newer Insignia models, lacking a dedicated low-pressure button, high pressure is the sole available option.
Understanding high pressure is crucial for adapting recipes. It’s ideal for tenderizing tough cuts of meat, cooking beans from dry, and preparing hearty stews. However, it’s not suitable for all foods. Delicate items like eggs or certain vegetables require lower temperatures to prevent overcooking and maintain texture. If a recipe specifies low pressure and you have a newer model, consider alternative cooking methods or adjusting the recipe to suit high-pressure cooking, potentially reducing cooking time and liquid amounts.
The “Less Normal More” Button Functionality
The term “Less Normal More” playfully refers to the “+” and “-” buttons on your Insignia pressure cooker, used for precise time adjustments. These buttons are essential for customizing cooking durations based on recipe requirements or personal preferences. They function similarly across most models, allowing you to incrementally increase or decrease cooking time in minute increments.
While some online discussions jokingly label these as “Less Normal More” due to their straightforward function, they are vital for accurate cooking. Use the “+” button to extend cooking time if your ingredients need longer to reach desired tenderness, or the “-” button to shorten it if you prefer a firmer texture. These buttons are particularly useful when adapting recipes from other sources, ensuring optimal results with your Insignia cooker. Newer Instant Pots now feature a dedicated “Pressure Cook” button, mirroring this functionality.
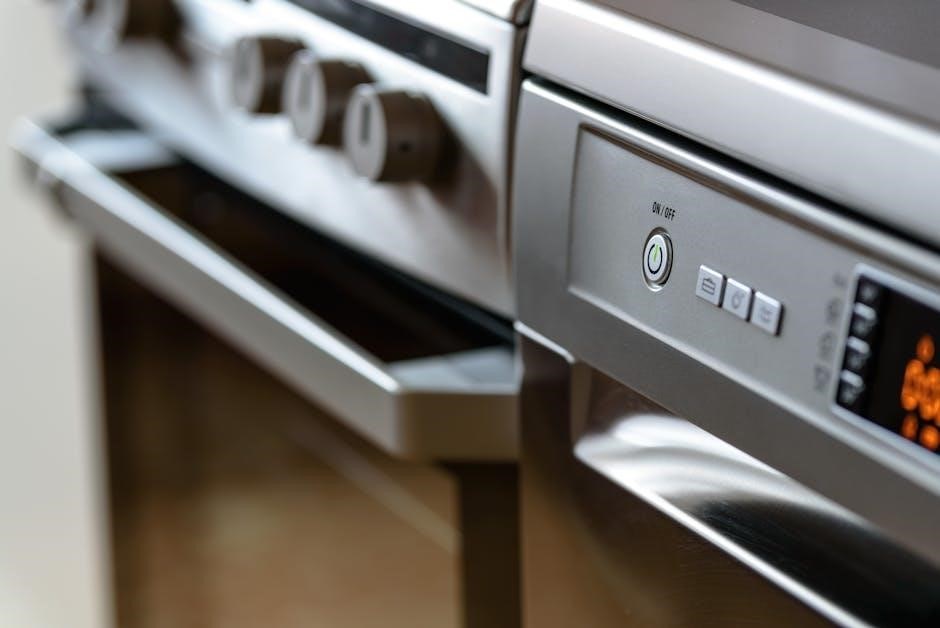
Control Panel Overview
The Insignia pressure cooker’s control panel is designed for intuitive operation, though layouts vary slightly between older and newer models. Generally, you’ll find a digital display indicating cooking time, pressure level (on older models), and status. Key buttons include “Manual/Pressure Cook,” “Soup/Broth,” “Meat/Stew,” and “Rice/Grain,” each pre-programmed for specific cooking profiles.
The “+” and “-” buttons are crucial for adjusting cooking time, often playfully referred to as “Less Normal More.” Newer models (ending in ‘9’) typically lack a dedicated “Pressure Level” button, offering only a single high-pressure setting, simplifying operation. A “Start” button initiates the cooking cycle, while “Cancel” halts it. The lid locking mechanism is integral to safety, indicated by a secure seal and often a visual indicator on the panel. Familiarizing yourself with these controls is key to mastering your Insignia cooker.
The Manual/Pressure Cook Button: Core Functionality
The “Manual” or “Pressure Cook” button – newer models often transition to the latter – is the workhorse of your Insignia cooker. This all-purpose function allows for customized pressure cooking, ideal when following recipes specifying a precise cook time at high pressure. It’s the go-to setting when a recipe simply states “pressure cook for X minutes.”

To utilize this button, first select “Manual/Pressure Cook,” then employ the “+” and “-” buttons to dial in the desired cooking duration. This provides granular control, essential for recipes not covered by the pre-set programs. Remember, newer Insignia models streamline this process with a single high-pressure setting, mirroring the functionality of Instant Pot’s “Pressure Cook” button. Mastering this core function unlocks the full potential of your cooker, enabling you to adapt countless recipes.
Time Adjustment: Using the “+” and “-” Buttons
Precisely controlling cooking time is crucial for successful pressure cooking, and your Insignia cooker makes it straightforward with the dedicated “+” and “-” buttons. These buttons are your primary interface for adjusting the duration of any cooking cycle, whether you’re using the Manual/Pressure Cook function, or modifying a pre-set program.
Each press of the “+” button incrementally increases the cooking time, typically in one-minute intervals. Conversely, the “-” button decreases the time by the same increment. The display will clearly show the adjusted time, allowing for accurate settings. Remember to consider the recipe’s instructions carefully, and adjust accordingly. These buttons are essential for adapting recipes designed for other brands, like Instant Pot, to your Insignia model, ensuring optimal results. Practice using them to become comfortable with the adjustment speed.
Starting the Cooking Process

Once you’ve selected your desired cooking mode, adjusted the time using the “+” and “-” buttons, and ensured the lid is securely locked, initiating the cooking process is simple. Press the “Start” button to begin. The cooker will now begin to build pressure. This phase can take several minutes, depending on the amount of liquid inside and the selected pressure level.
During pressure build-up, the display will typically show a countdown or an indicator that pressure is increasing. Do not disturb the cooker during this stage. Once the set pressure is reached, the timer will begin counting down, indicating the actual cooking time has commenced. The cooker will maintain the pressure throughout the set duration. After the timer reaches zero, the cooker will automatically switch to a “Keep Warm” mode, maintaining the food’s temperature until you’re ready to release the pressure.
Safety Features
Insignia pressure cookers are equipped with multiple safety mechanisms to ensure safe operation. A key feature is the lid locking mechanism, preventing opening during pressure build-up or release. The float valve plays a crucial role, indicating pressure levels and preventing over-pressurization. It rises to show pressure is present and locks the lid.
Furthermore, these cookers incorporate overheat protection, automatically shutting off if the temperature becomes dangerously high. The pressure release valve manages internal pressure, preventing excessive build-up. Always ensure this valve is clean and unobstructed. Never force the lid open; allow pressure to release fully first. Regular inspection of these components is vital for continued safe use. Ignoring safety features can lead to accidents, so familiarize yourself with each function before operation.
Pressure Release Methods: Natural vs. Quick Release
Understanding pressure release is crucial for safe and effective cooking. Natural Pressure Release (NPR) involves allowing the pressure to dissipate on its own after cooking. This method is ideal for soups, stews, and foods with high liquid content, preventing splattering and ensuring even cooking. It takes longer, sometimes up to 30 minutes or more.
Quick Release (QR) involves manually releasing pressure by carefully opening the pressure release valve. This is faster but can cause liquids to sputter, so keep your face and hands away. QR is suitable for foods where overcooking is a concern, like vegetables. Always follow recipe instructions regarding release methods. Never force the valve open; ensure it’s directed away from you. Proper release prevents accidents and optimizes food texture.

Understanding Float Valve Operation
The float valve is a critical safety component of your Insignia pressure cooker. Located in the lid, it rises to seal the cooker when pressure builds, indicating a secure cooking environment. Do not attempt to open the lid while the float valve is up! This signifies internal pressure remains.
During cooking, steam builds, pushing the float valve upwards. Once cooking is complete and pressure is released (either naturally or quickly), the valve will drop. Only when the float valve is fully down is it safe to open the lid. If the valve remains stuck, do not force it; further pressure release may be needed. Regularly check the valve for cleanliness and proper movement to ensure optimal performance and safety. A functioning float valve is paramount for safe operation.
Lid Locking Mechanism: Ensuring Safe Operation
The lid locking mechanism is a crucial safety feature of your Insignia pressure cooker, preventing accidental opening during operation. It interlocks with the cooker body when properly aligned and sealed. Never attempt to force the lid open; this could cause serious injury.
The lid must be securely locked before the cooker will build pressure. Ensure the lid is correctly positioned and twisted into place until it clicks. The float valve also plays a role – it prevents the lid from unlocking while pressure is present. If the lid won’t open, verify the float valve has dropped completely and any remaining pressure has been released. Regularly inspect the locking mechanism for debris or damage. A properly functioning lid lock is essential for safe and effective pressure cooking.
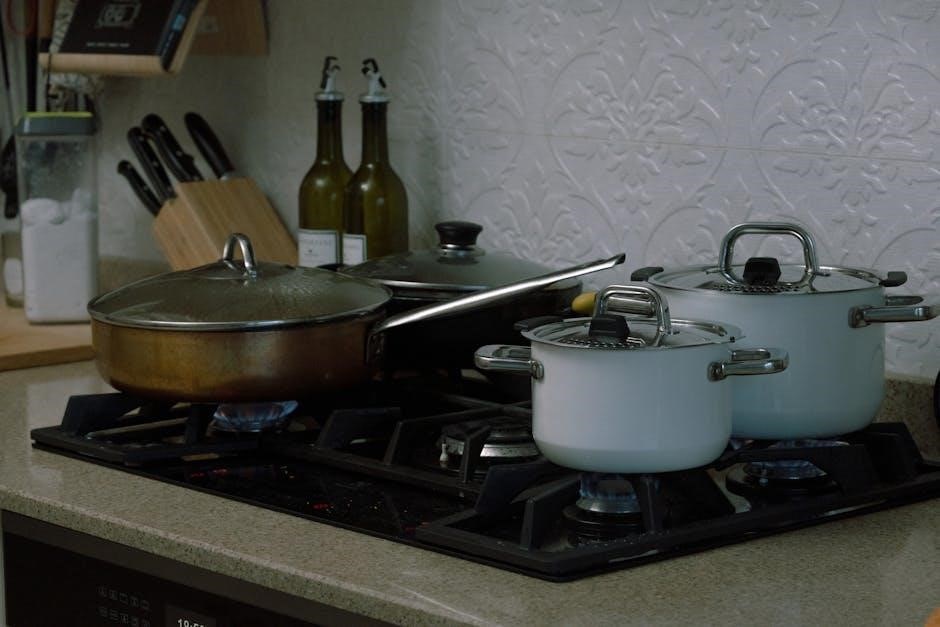
Cooking Modes & Programs
Your Insignia pressure cooker offers several pre-programmed cooking modes designed for convenience. These include dedicated settings for Soup/Broth, optimized for extended simmering and flavor extraction; Meat/Stew, which excels at tenderizing tougher cuts of meat; and Rice/Grain, providing consistent, perfectly cooked results.
While these programs offer a starting point, remember that cooking times may need adjustment based on ingredient quantities and desired texture. The Manual/Pressure Cook button provides full control, allowing you to customize both time and pressure. Newer models simplify pressure settings, offering only a single high-pressure option, unlike older versions with adjustable pressure levels. Familiarize yourself with each mode to unlock the full potential of your Insignia cooker and enjoy a variety of delicious meals.
Soup/Broth Mode: Optimized for Flavor

The Soup/Broth mode on your Insignia pressure cooker is specifically engineered to extract maximum flavor from ingredients, creating rich and deeply satisfying results. This program utilizes a longer cooking time at high pressure, effectively breaking down bones and vegetables to release collagen and nutrients.
For optimal broth, consider adding a splash of vinegar to help draw out even more flavor. While the pre-set time is a great starting point, adjustments may be necessary depending on the quantity and type of ingredients used. Remember that newer Insignia models feature a simplified high-pressure setting, so the program operates at a single, consistent pressure level. Experiment with different combinations of meats, vegetables, and herbs to create your signature broth or soup!
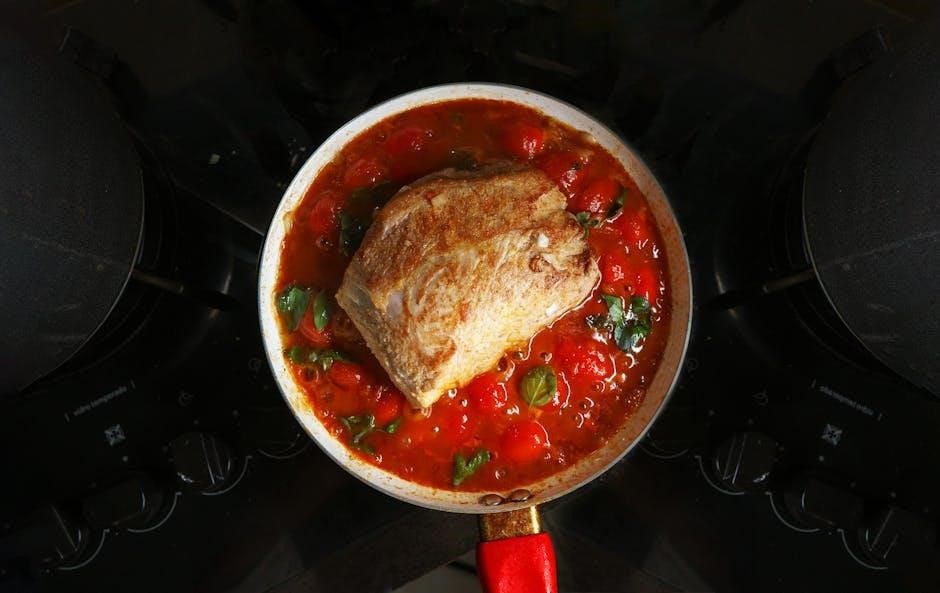
Meat/Stew Mode: Tenderizing Tough Cuts
The Meat/Stew mode on your Insignia pressure cooker excels at transforming tougher, less expensive cuts of meat into incredibly tender and flavorful dishes. This program employs extended high-pressure cooking, effectively breaking down connective tissues that contribute to chewiness.
For best results, brown the meat before pressure cooking to develop a rich, savory crust. Adding aromatics like onions, garlic, and herbs enhances the overall flavor profile. Remember that newer Insignia models operate at a single high-pressure setting, simplifying the process. Adjust cooking times based on the type and size of the meat; larger cuts will require longer cooking durations. This mode is perfect for pot roasts, beef stew, and pulled pork, delivering restaurant-quality tenderness in a fraction of the time!
Rice/Grain Mode: Perfect Results Every Time
The Rice/Grain mode on your Insignia pressure cooker is designed to consistently deliver perfectly cooked rice and other grains, eliminating guesswork and preventing common issues like undercooked or mushy results. This program automatically adjusts cooking time and pressure based on the selected grain type, ensuring optimal texture and flavor.
While the Insignia cooker simplifies operation with a single high-pressure setting on newer models, understanding water ratios is crucial. Generally, a 1:1 water-to-rice ratio works well for white rice, while brown rice requires a slightly higher ratio. Rinse the rice before cooking to remove excess starch for fluffier results. This mode isn’t limited to rice; it also works wonderfully for quinoa, barley, and other grains, offering a convenient and efficient cooking solution.
Troubleshooting Common Issues
Encountering problems with your Insignia pressure cooker is common, but often easily resolved. A frequent issue is the “Burn” message, typically caused by insufficient liquid or food stuck to the bottom. Ensure adequate liquid is added and consider deglazing the pot after sautéing. If the lid won’t open, confirm all pressure has been released – use either natural or quick release methods, and check the float valve is down.
Decoding error codes requires referencing your specific model’s manual, as they vary. Remember newer models (ending in ‘9’) have simplified controls. If issues persist, a power cycle (unplugging and replugging) can sometimes reset the system. It’s important to note that many online recipes are geared towards Instant Pot, so button names may differ – utilize the Manual/Pressure Cook button for timed cooking.
“Burn” Message: Causes and Solutions
The dreaded “Burn” message on your Insignia pressure cooker signals food is scorching on the bottom. This commonly arises from insufficient liquid, particularly with thicker sauces or when sautéing before pressure cooking. Ensure you’re adding the minimum liquid requirement specified in your recipe – often at least one cup. Food particles stuck to the bottom can also trigger the message; deglaze the pot thoroughly after sautéing, scraping up any browned bits with a wooden spoon.
For recipes prone to burning, consider layering ingredients: liquids at the bottom, then less dense items, with thicker sauces on top. Stirring occasionally during the initial pressure build-up can also help. If the burn message appears mid-cycle, immediately release the pressure and investigate. Remember, newer models simplify operation, but the underlying principles of preventing burning remain consistent.

Lid Won’t Open: Troubleshooting Steps
If your Insignia pressure cooker lid refuses to open, do not force it. This is a safety feature! First, ensure all pressure has been fully released – either through natural pressure release (NPR) or quick release (QR). Verify the float valve has dropped completely; sometimes, a slight blockage prevents it from descending. Gently press it down to confirm free movement.
If the lid remains stuck, double-check the lid locking mechanism is fully disengaged. Sometimes, a small amount of food debris can interfere with proper unlocking. A gentle wiggle of the lid while attempting to unlock can help. If these steps fail, a small amount of residual pressure might remain. Allow a further 10-15 minutes for complete depressurization before attempting again.
Caution: Never attempt to open the lid while pressure is present.
Error Codes: Decoding the Display
Insignia pressure cookers utilize error codes to signal issues. While specific codes vary by model, understanding common ones is crucial. A “Burn” message typically indicates food is stuck to the bottom of the inner pot, often due to insufficient liquid. Addressing this requires careful cleaning and ensuring adequate liquid levels in future cooks.
Other potential codes might relate to sensor malfunctions or lid sealing problems. If an error code appears that isn’t addressed in your user manual, first try power cycling the cooker – unplug it for a few minutes, then plug it back in. If the error persists, consult the Insignia support website or contact customer service.
Important: Do not attempt to repair the cooker yourself. Refer to the manual for a complete list of error codes and their meanings. Ignoring error codes can compromise safety and damage the unit.
Cleaning and Maintenance
Regular cleaning ensures your Insignia pressure cooker’s longevity and safe operation. After each use, allow the unit to cool completely before disassembling. The inner pot, steam rack, and lid (excluding the electronic components) are typically dishwasher safe, offering convenient cleaning. However, hand washing with warm, soapy water is recommended for delicate parts or to preserve their finish.
The exterior of the cooker can be wiped down with a damp cloth. Avoid abrasive cleaners, as they can damage the surface. Pay close attention to the sealing ring, cleaning it thoroughly to remove any food particles that may affect its seal. Proper storage involves ensuring all parts are dry before reassembly and storing in a cool, dry place.
Long-term care includes periodically inspecting the float valve for debris and ensuring it moves freely.
Dishwasher Safe Parts
Determining which parts of your Insignia pressure cooker are dishwasher safe simplifies cleanup considerably. Generally, the inner pot, constructed from stainless steel, is safe for the dishwasher. Similarly, the steam rack, often included for elevated cooking, can withstand dishwasher cycles. The lid itself is usually dishwasher safe, however, it’s crucial to remove the electronic components first – do not submerge the lid with any electrical parts attached!
It’s advisable to place these parts on the top rack of the dishwasher to avoid direct exposure to the heating element. While dishwasher safe, hand washing can prolong the life of certain components, particularly the sealing ring. Frequent dishwasher use may degrade the ring’s elasticity over time. Always check your specific model’s user manual for confirmation, as variations may exist.
Remember to thoroughly dry all parts before reassembling and storing your Insignia pressure cooker.
Proper Storage Techniques
Storing your Insignia pressure cooker correctly ensures longevity and prevents damage. Before storing, ensure the unit is completely cool and dry. Avoid packing it away while any moisture remains, as this can lead to mold or mildew growth. The inner pot can be stored inside the main unit to save space, but ensure it’s dry to prevent corrosion.
The lid should be stored separately, ideally in a location where it won’t be crushed or subjected to excessive weight. Pay close attention to the sealing ring; store it separately, cleaned and dry, to prevent it from sticking or losing its shape. Avoid bending or twisting the sealing ring during storage.
Keep the pressure cooker in a clean, dry environment, away from direct sunlight and extreme temperatures. Original packaging, if available, provides excellent protection during long-term storage.
Long-Term Care for Your Cooker
To maximize the lifespan of your Insignia pressure cooker, consistent care is crucial. Regularly inspect the sealing ring for cracks or damage; replace it annually, or more frequently with heavy use, to maintain a proper seal. The float valve should also be checked for free movement and cleaned periodically to prevent blockages.
Avoid abrasive cleaners when cleaning the cooker’s exterior and interior. Mild soap and water are generally sufficient. Inspect the heating element periodically for any signs of buildup or damage. Descaling the unit with a vinegar-water solution (refer to the cleaning section) can help prevent mineral deposits.
Proper storage (as detailed previously) is vital. Consider occasional “test runs” – a simple water test – if the cooker is stored for extended periods, to ensure all components remain functional.